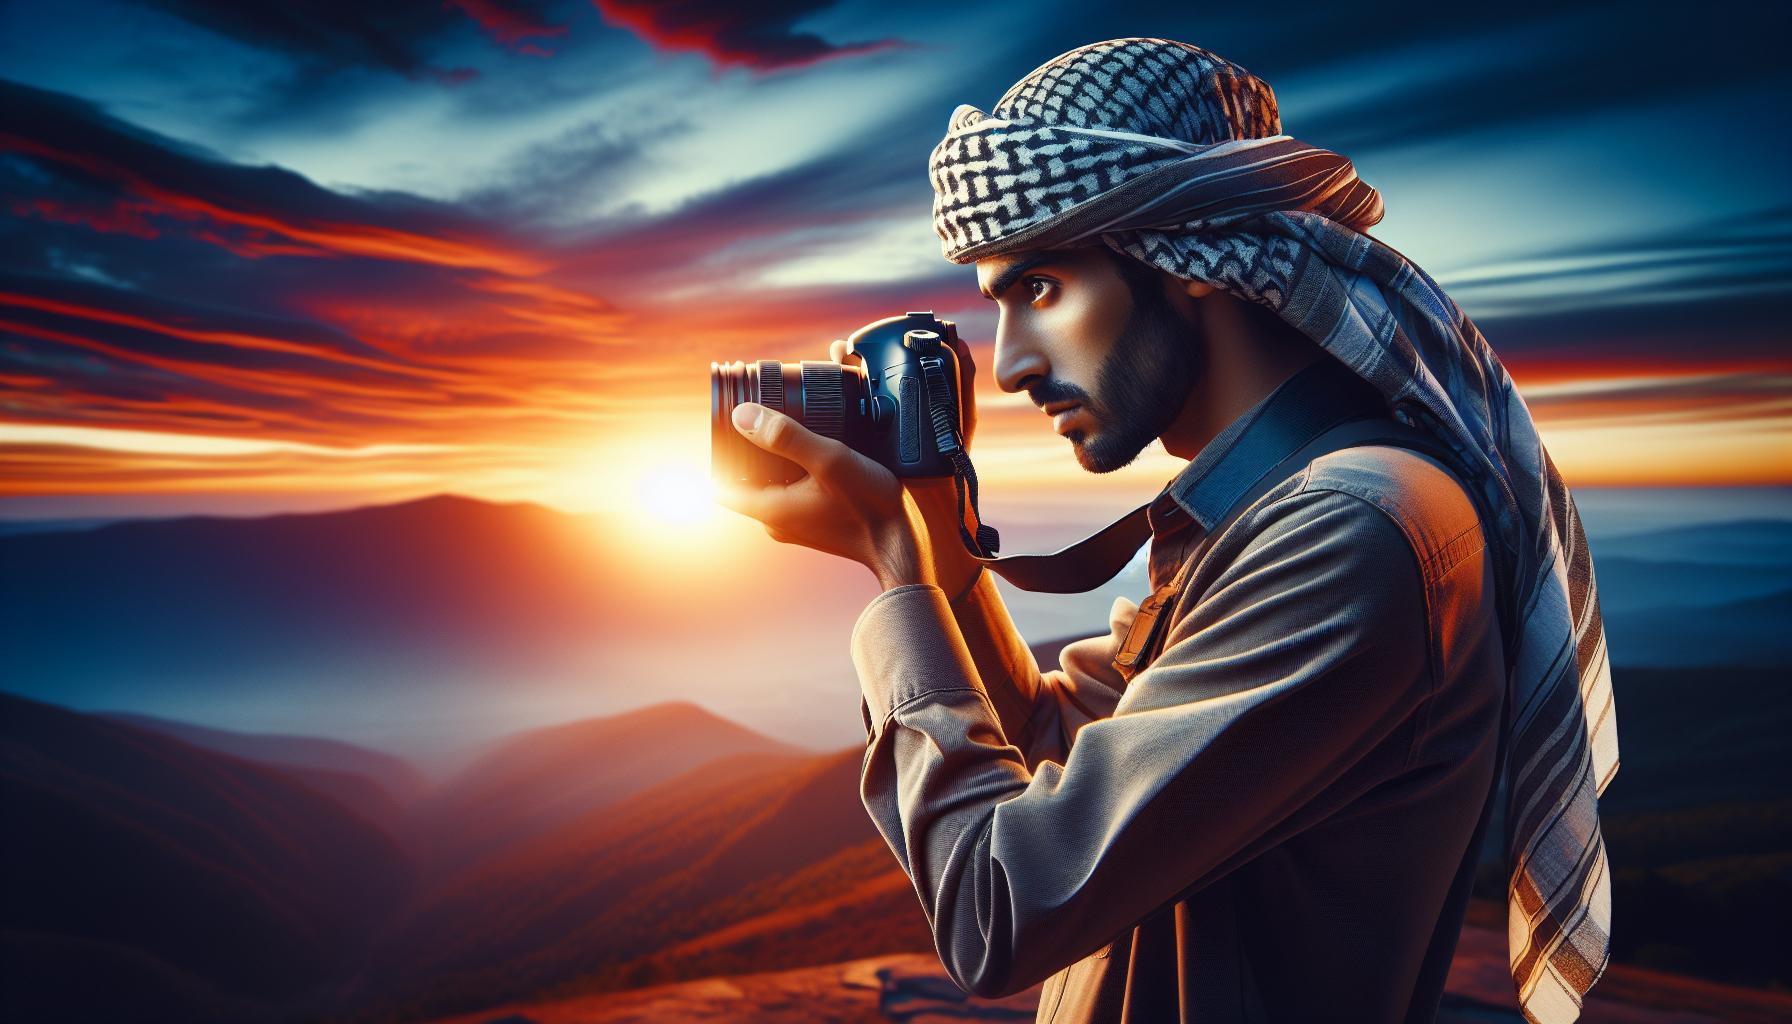
I’ve encountered countless backlit photos that seemed destined for deletion until I learned the right editing techniques. Backlit photography can create stunning silhouettes and dreamy atmospheres but often leaves subjects looking dark and underexposed while backgrounds appear too bright.
As a photographer who’s spent years mastering post-processing skills I’ll show you how to edit a backlit photo into beautiful images. Whether you’re working with portraits landscapes or nature photography these editing techniques will help you balance exposure enhance details and create the perfect mood in your backlit photos. With the right tools and approach you’ll be able to rescue those seemingly ruined shots and turn them into portfolio-worthy pieces.
Understanding Backlit Photography
Backlit photography occurs when the primary light source illuminates a subject from behind, creating dynamic silhouettes & dramatic lighting effects. The interplay between light & shadow presents unique editing opportunities.
Common Backlit Photo Challenges
- Loss of Subject Detail: Faces & important features appear dark or underexposed against bright backgrounds
- Lens Flare Issues: Bright backlighting creates unwanted lens flares & reduced contrast
- Uneven Exposure: Significant exposure differences between highlights & shadows make balanced editing difficult
- Color Cast Problems: Strong backlighting often introduces unwanted color tints in shadow areas
- Halo Effects: Bright edges around subjects require careful adjustment during post-processing
The Impact of Lighting Direction
Lighting direction in backlit photos influences exposure & editing approaches in several ways:
-
Direct Backlighting
- Creates strong silhouettes
- Produces rim lighting effects
- Requires shadow recovery in post-processing
-
Angular Backlighting
- Generates side rim lights
- Maintains partial facial details
- Creates opportunities for dramatic editing
- Softens contrast ratios
- Preserves more subject detail
| Lighting Type | Impact on Subject | Editing Priority |
|---|---|---|
| Direct | Strong silhouettes | Shadow recovery |
| Angular | Partial details | Highlight control |
| Diffused | Balanced exposure | Color correction |
Essential Camera Settings for Backlit Photos

Capturing backlit photos requires specific camera settings to preserve detail in both highlights and shadows. I focus on two critical aspects when shooting backlit subjects: file format selection and exposure configuration.
RAW vs JPEG Format
RAW format captures 14-bit color depth with 16,384 tonal values compared to JPEG’s 8-bit depth with 256 values. I always shoot backlit photos in RAW format to retain maximum editing flexibility for:
- Shadow recovery in underexposed areas
- Highlight detail preservation in bright backgrounds
- White balance adjustments without quality loss
- Noise reduction in dark areas during post-processing
- Color depth maintenance during extensive editing
Optimal Exposure Settings
- Spot metering mode focused on the subject
- Exposure compensation of +1 to +2 stops to prevent silhouettes
- Matrix metering with -0.3 to -0.7 compensation for dramatic rim lighting
- ISO 100-400 to minimize noise in shadow areas
- Aperture priority mode (f/4 to f/8) for optimal depth of field
| Setting Type | Value Range | Purpose |
|---|---|---|
| Metering Mode | Spot/Matrix | Subject exposure accuracy |
| Exposure Comp | -0.7 to +2.0 | Shadow/highlight balance |
| ISO | 100-400 | Clean shadow detail |
| Aperture | f/4-f/8 | Sharp subject separation |
Photo Editing Software Options

I recommend specific editing software tools designed to handle the unique challenges of backlit photos, offering features for shadow recovery, highlight adjustment and color correction.
Professional vs Free Tools
Professional editing software delivers advanced tools for precise backlit photo adjustments:
- Adobe Lightroom ($9.99/month)
- Advanced shadow recovery
- Targeted adjustment tools
- Comprehensive color grading
- Capture One Pro ($24/month)
- Superior highlight recovery
- Layer-based editing
- Advanced color management
Free alternatives provide essential editing capabilities:
- GIMP
- Basic exposure controls
- Layer functionality
- Manual shadow/highlight adjustment
- Darktable
- RAW file processing
- Exposure compensation
- Basic color correction
Mobile Editing Apps
Mobile apps offer convenient solutions for backlit photo editing on smartphones:
- Snapseed (Free)
- Selective adjustment tools
- HDR enhancement
- Shadow recovery features
- Lightroom Mobile (Free/Premium)
- Professional-grade tools
- Cloud synchronization
- Advanced healing options
- VSCO (Free/Premium)
- Exposure fine-tuning
- Film-inspired presets
| Software Type | Price Range | Key Features |
|---|---|---|
| Professional | $10-30/month | RAW processing, advanced color grading, layer editing |
| Free Desktop | $0 | Basic exposure control, essential adjustments |
| Mobile Apps | $0-10/month | Selective tools, presets, cloud storage |
Step-by-Step Editing Techniques
Editing backlit photos requires a systematic approach to balance exposure, recover lost details, and enhance the overall image quality. Here’s my proven process for transforming challenging backlit shots into stunning photographs.
Adjusting Exposure and Shadows
I start by increasing the exposure of shadow areas to reveal hidden details in the subject. In Lightroom, I lift the Shadows slider to +40-60 while carefully adjusting the Blacks to -15-25 to maintain depth. For localized adjustments, I use the Adjustment Brush tool with these settings:
- Exposure: +0.5 to +1.0
- Shadows: +40 to +60
- Clarity: +15 to +25
- Noise Reduction: +10 to +20
Fine-Tuning Highlights and Contrast
After shadow recovery, I address the bright background areas to prevent overexposure. My typical adjustments include:
- Reducing Highlights to -40 to -60
- Setting Whites to -10 to -20
- Adding Clarity +10 to +20
- Applying Dehaze +5 to +15
For precise control, I use radial filters on specific bright areas with reduced exposure settings of -0.3 to -0.7.
Color Temperature Correction
Backlit photos often show color casts that need correction. I adjust the following settings:
- White Balance: 5500K-6500K for outdoor shots
- Tint: +5 to +15 to counter green casts
- HSL adjustments:
- Reduce Yellow Luminance by -10 to -20
- Increase Blue Saturation by +10 to +15
- Adjust Orange Hue by +5 to +10
For consistent results, I create custom presets with these baseline settings, then fine-tune each photo’s unique characteristics.
Advanced Editing Methods
Advanced editing techniques transform backlit photos by targeting specific areas with precision adjustments. These methods add depth dimension to images while maintaining natural-looking results.
Using Graduated Filters
Graduated filters create smooth transitions between bright skies bright backgrounds in backlit photos. I apply digital graduated filters in a top-down motion adjusting exposure temperature tint to balance lighting across the frame. For optimal results I use:
- Set filter opacity between 25-40% for natural transitions
- Adjust filter angle to match the horizon line
- Stack multiple graduated filters for complex lighting scenarios
- Fine-tune highlights recovery at -15 to -30 points
- Apply subtle clarity adjustments of +5 to +15
Local Adjustment Tools
Local adjustment tools enable precise editing of specific image areas without affecting the entire photo. I leverage:
- Radial filters to illuminate subject faces (+0.5 to +1.5 exposure)
- Adjustment brushes for selective shadow recovery
- Range masks to isolate highlights shadows
- Color masks for targeted saturation control
- Luminance masks to preserve highlight detail
Creating Silhouette Effects
- Drop shadow values to -80 or lower
- Increase contrast to +40-60 points
- Sharpen edge definition (+25-35 clarity)
- Boost blacks to -30 or -40
- Apply split toning with warm highlights cool shadows
| Adjustment Type | Recommended Range | Purpose |
|---|---|---|
| Graduated Filter Opacity | 25-40% | Natural transition |
| Face Exposure Boost | +0.5 to +1.5 | Subject illumination |
| Silhouette Shadows | -80 or lower | Deep blacks |
| Edge Clarity | +25-35 | Definition enhancement |
Conclusion
Editing backlit photos doesn’t have to be intimidating. With the right tools techniques and a systematic approach you can transform challenging backlit shots into stunning images that capture the magical qualities of backlighting.
I’ve found that successful backlit photo editing comes down to understanding your tools mastering exposure adjustments and paying attention to detail. Whether you’re using professional software or mobile apps the key is to maintain a balance between enhancing the image and preserving its natural look.
Remember that each backlit photo presents unique challenges. Take your time experiment with different techniques and don’t be afraid to create your own editing style. With practice you’ll develop an eye for bringing out the best in your backlit photos while maintaining their authenticity.
